Crafting this cell photo editing course involved multiple revisions due to its deeply personal and creative nature. There are two main approaches: photorealism aims for flawless reality, while photo artists view images as limitless canvases for creative augmentation. Neither approach is inherently right or wrong, but they employ different intents and tools.
Software plays a crucial role; programs like Photoshop or Lightroom, at over $240 yearly, are considered top-tier but might exceed the needs of this guide. Therefore, this guide focuses on phone-based editing, particularly Samsung Gallery editing tools, adaptable to IOS PicsArt or other basic platforms.
Resizing
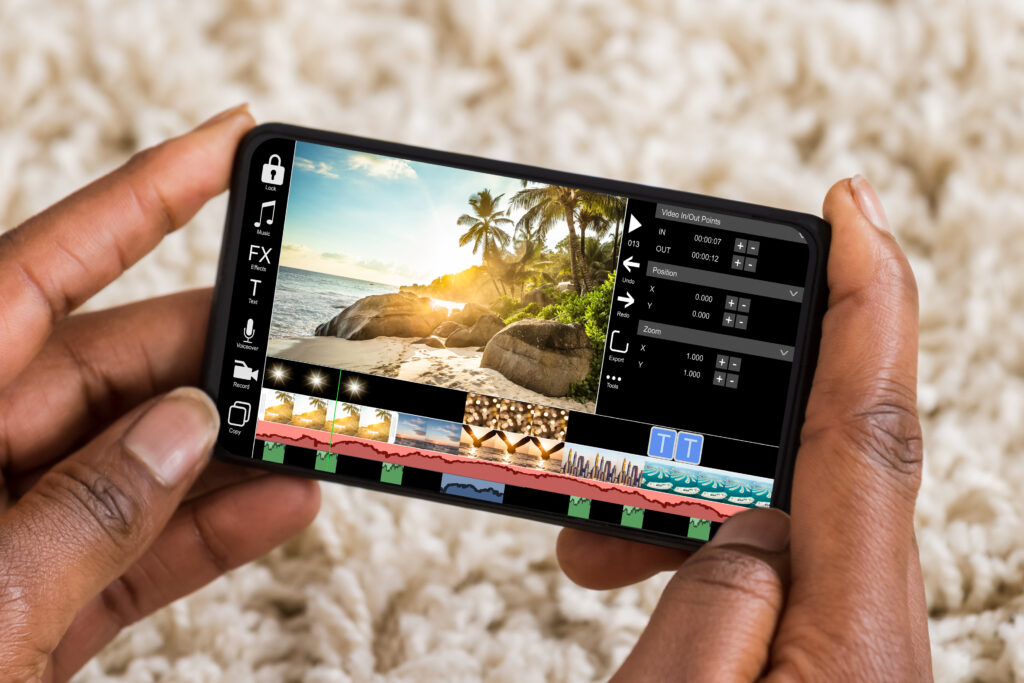
Resizing is one of the most basic photo editing actions you can perform, and it happens a lot, even if you don’t realize it. File size is determined by three primary attributes: image size, resolution, and compression.
Image size is separate from the aspect ratio. The aspect ratio is the relative dimension (e.g., portrait vs landscape), while the size is the absolute dimension (big vs small). Sizing is measured as a physical size (such as inches) or pixels, which are relative to your screen’s resolution. Note that sizing can make files get big quickly because the image area matters, which is length x width.
Resolution and compression are ways to control how much information is packed into the area you have. Resolution is pretty straightforward; more stuff is larger and looks better and not enough stuff looks pixelated.
Compression is a bit more tricky. Some stuff compresses more / better. For example, the algorithm sometimes decides that a fairly uniform blob of color, like a lake, can be replaced with a single color, which looks totally fake. If your picture starts to look like you spilled a drink on your watercolor painting, it’s a compression issue.
Most importantly, even though resizing is the first item mentioned, it should be the absolute last step of your photo editing process. Every other step works better with a larger file size. Consider keeping an unedited original of your picture so you can edit it a different way later without losing information.
Top Level Samsung Gallery Menus
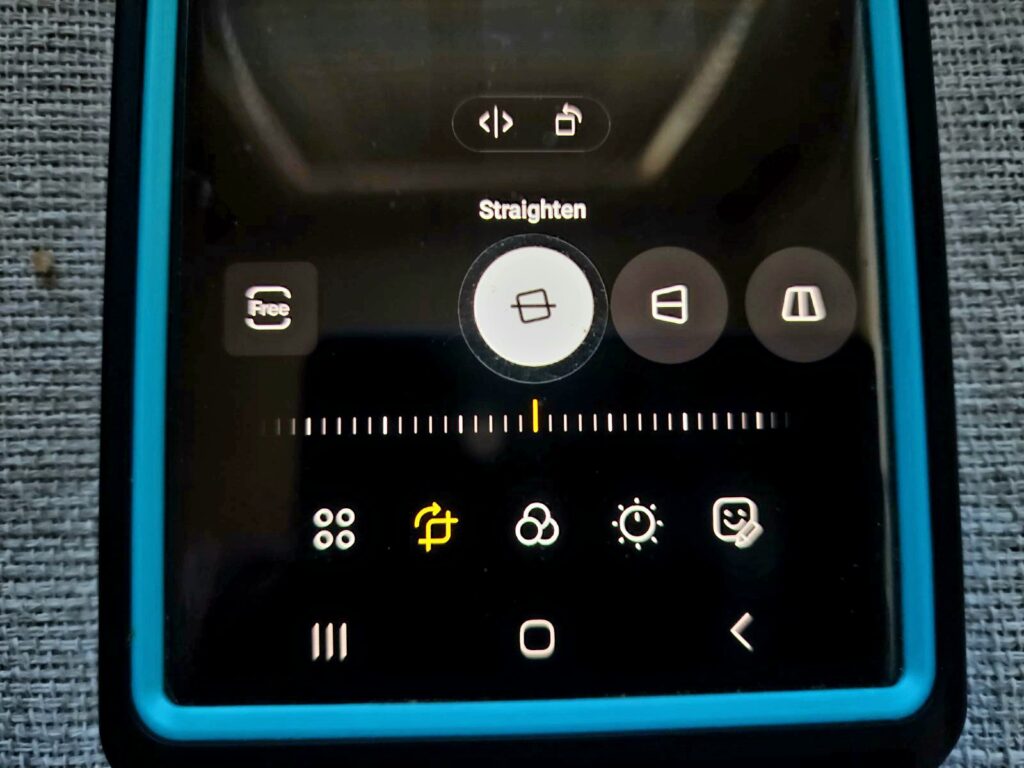
Samsung Gallery has six top level icons that activate five menus:
- Auto Adjust (magic wand) – Activates the Auto Adjust function
- Transform (crop and rotate icons) – Transform Menu
- Filters (three-interlocking circle icon) – Filter Menu (not often used in Photorealism)
- Tone (sun icon) – Tone Menu (this is the go-to menu for Photorealism editing)
- Decorations (smiley face icon) – Decorations Menu (not used in Photorealism)
- More Options (three vertical buttons: “hamburger”) – More options menu
This piece will discuss Auto Adjust, Transform, Tone, and More Options in greater detail while saving Filters and Decorations for a potential later lesson on photoartistic effects.
Transform Menu
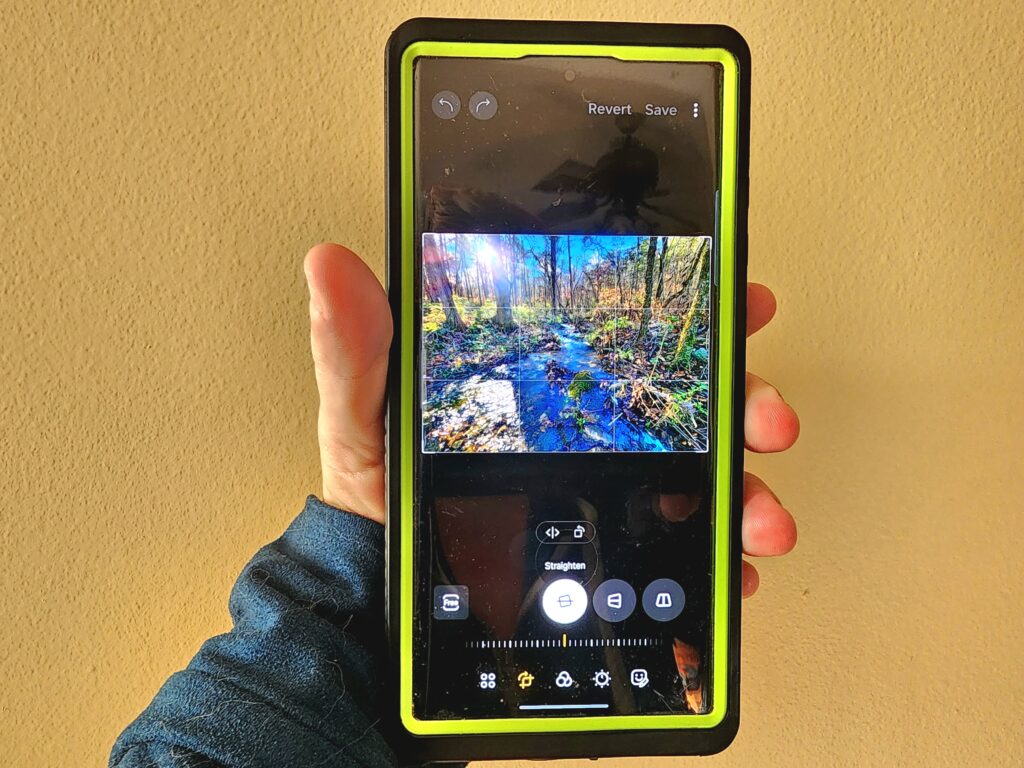
The Transform Menu has seven functions:
- Rotate
- Flip
- Ratio
- Perspective
- Lasso (photoartistic function)
- Crop (default function)
- Straightening
Rotate and Flip are occasionally helpful but self-explanatory. I rarely use the Perspective Tool, which will help make an object square if you take it at an acute angle, like if you’re photographing a mural with a wide-angle lens. The Lasso is a photoartistic function that lets you slice and dice your image. This leads us to discuss Cropping and Straightening in more detail.
Cropping
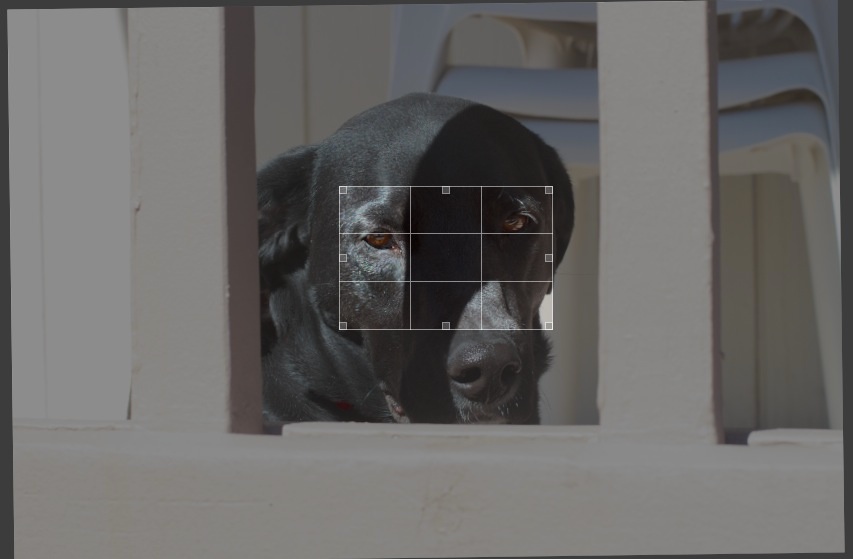
Cropping is a simple photo editing technique used to correct (or adjust) the visual composition of a photo after it’s taken. All the Rules of Composition apply for cropping, with one more consideration – aspect ratio. Free ratio cropping allows you to modify the aspect ratio, while fixed ratio cropping will preserve the original aspect ratio. There’s a time and place for both, so most programs do both. Don’t be lazy, free crop, and hope the aspect ratio is “close enough.”
Free cropping is automatically selected when you press the Transform Button. If you want a fixed ratio, you press the “Free” button, which is called the Ratio Function (don’t ask me why). This button (again) defaults you to a free crop, but now, you have the option of a few preset aspect ratios.
Straightening
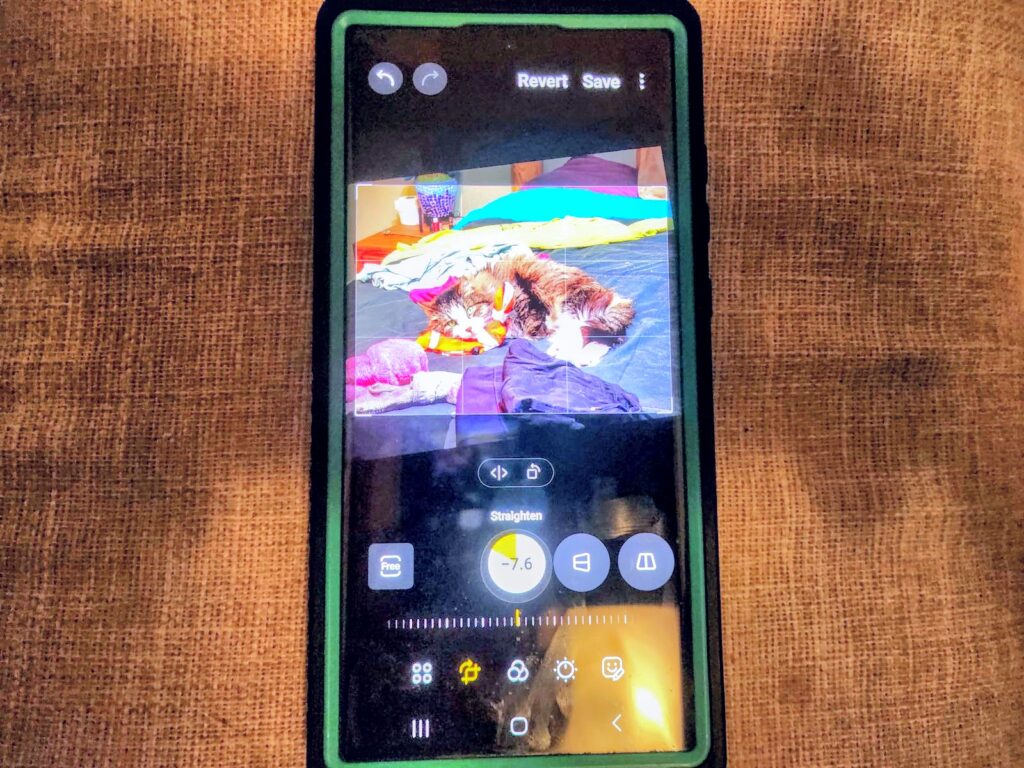
Taking a straight picture is remarkably hard, especially without turning on guidelines. No worries, you can fix this with editing. The program simply crops off the offending edges so it’s straight, like taking a pair of scissors to a piece of paper. Many photographers consider straightening the horizon the first step of post-processing.
Object Eraser
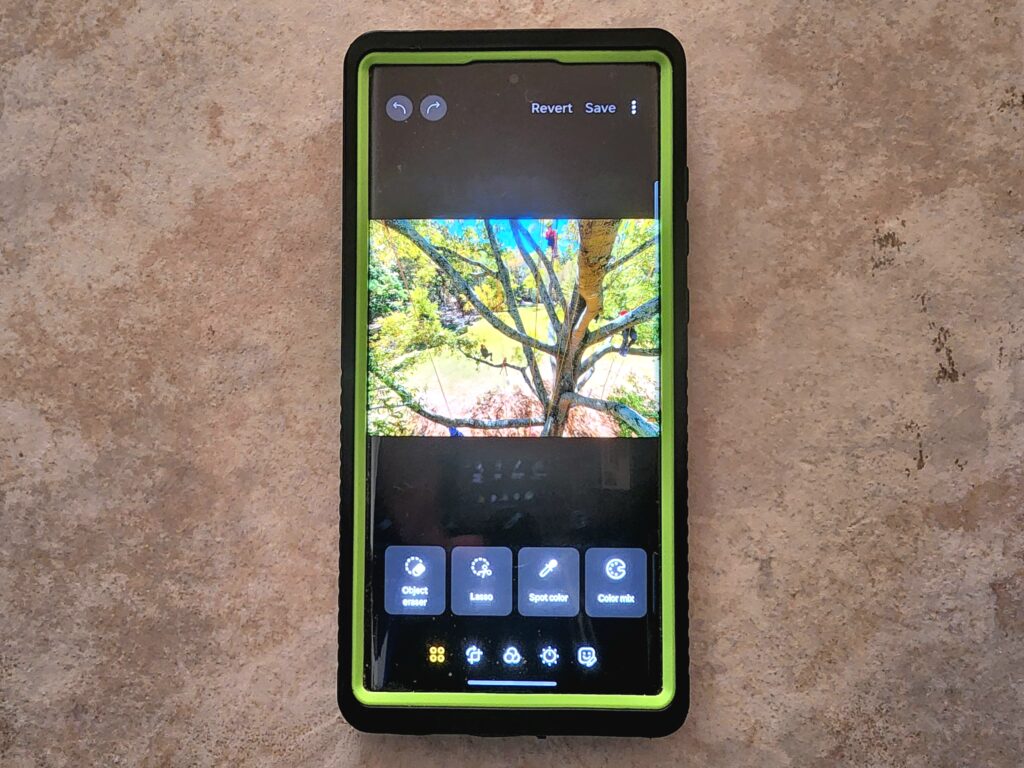
Object Eraser is an AI-driven tool that chooses a matching pattern to replace an unwanted object. You free draw around the thing you want to erase, and AI does the rest. Two hints – the smaller the object, the easier it is to find a patch. Also, the more complicated the background, the harder it is to find a suitable fill.
Tone Menu

I’m not a huge fan of the word “Tone” in this context since the word is commonly used in photography. It’s not wrong, but it’s not entirely right either. In fact, many of the terms and tools in this section are called other things in other applications (like Lightroom and Photoshop). It is what it is; that’s why I made a point to match my language to Samsung Gallery, so it’s at least internally consistent.
The available functions under the Tone Menu are:
Light Balance: Darkens highlights and brightens shadows to make the image more balanced (my go-to fix)
Brightness: Makes the entire image more or less bright
Exposure: Modifies the general luminosity by overexposing or underexposing the image
Contrast: Adjusts the overall contrast to make details more visible to the eye (Great for signs and writing)
Highlights: Darkens or lightens a bright area (opposite of shadows)
Shadows: Darken or lighten dark areas (opposite of highlights)
Saturation: Adjust the intensity of colors (black and white to over-saturated) (oversaturating is the #1 rookie photo editing mistake)
Tint: Adjusts the shades of the colors (purple to green colors) (great for food)
Temperature: Creates a warmer or cooler photo (blue to yellow colors) (great for skin tones and sunsets)
Sharpness: Sharpens or softens an image
Definition: A mellow version of sharpness
I suggest playing around in the Tone Menu a bit and seeing what you like until you discover your photorealism style. Some people (and programs) use “presets” once they know what they like, but I think every picture is different, so I never use presets. They’re also not part of Samsung Gallery, so they’re out of the scope of this lesson anyway. All we’re going to cover in greater detail is the Auto Adjust feature and Light Balance.
Auto Adjust (aka Magic Wand)

Auto Adjust looks like a magic wand and works like magic, too. It auto-adjusts the photo settings under the Tone Menu and sometimes does a great job. In many cases, it’s all you need to do to finish your shot after you crop, straighten, and object erase. The skeptic in me thinks that if an algorithm could figure this out, why didn’t your camera do it in the first place? I console myself by saying the scene is slightly different after cropping, but it doesn’t really matter. If you hit the magic button and things look better, take the win.
Auto Adjust is so popular and useful that they took it out of the Tone Menu and made it a top-level icon.
Light Balance
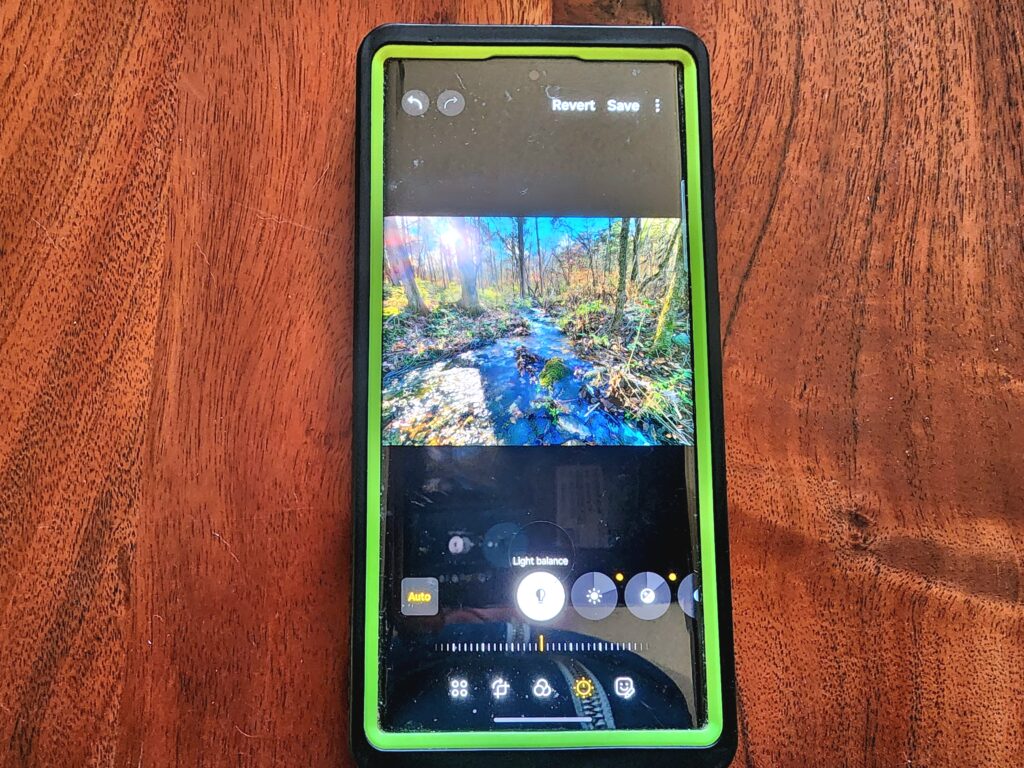
Light balance is my number-one adjustment. It’s the white and black light bulb icon. It’s useful for brightening up pictures that were too dark without making them look faded or overexposed. It operates with a single slider that goes from -100 to 100. I usually add about 20-50 points of Light Balance to most pictures, and I think it makes them look better and more realistic.
More Options Menu

The More Options menu is a hodgepodge of stuff, some of which is useful.
Options Include:
- Face Effects: An entire menu of AI effects if a face is recognized
- Object Eraser: Covered earlier in this guide
- Spot Color: A photoartistic effect
- Style: A photo photoartistic effect
- Color Mix: A photo artistic effect
- Resize: Covered earlier in this guide
- Save as a copy: A darn good idea while you’re learning how to photo edit and not a bad general practice
As you can see, most of the More Options menu has either already been covered or is a photo artistic effect. Face Effects are the primary selection we haven’t covered, but I use other apps for face and body tuning, so we’ll cover those next.
Body Tuning / Face Tuning / Digital Makeup
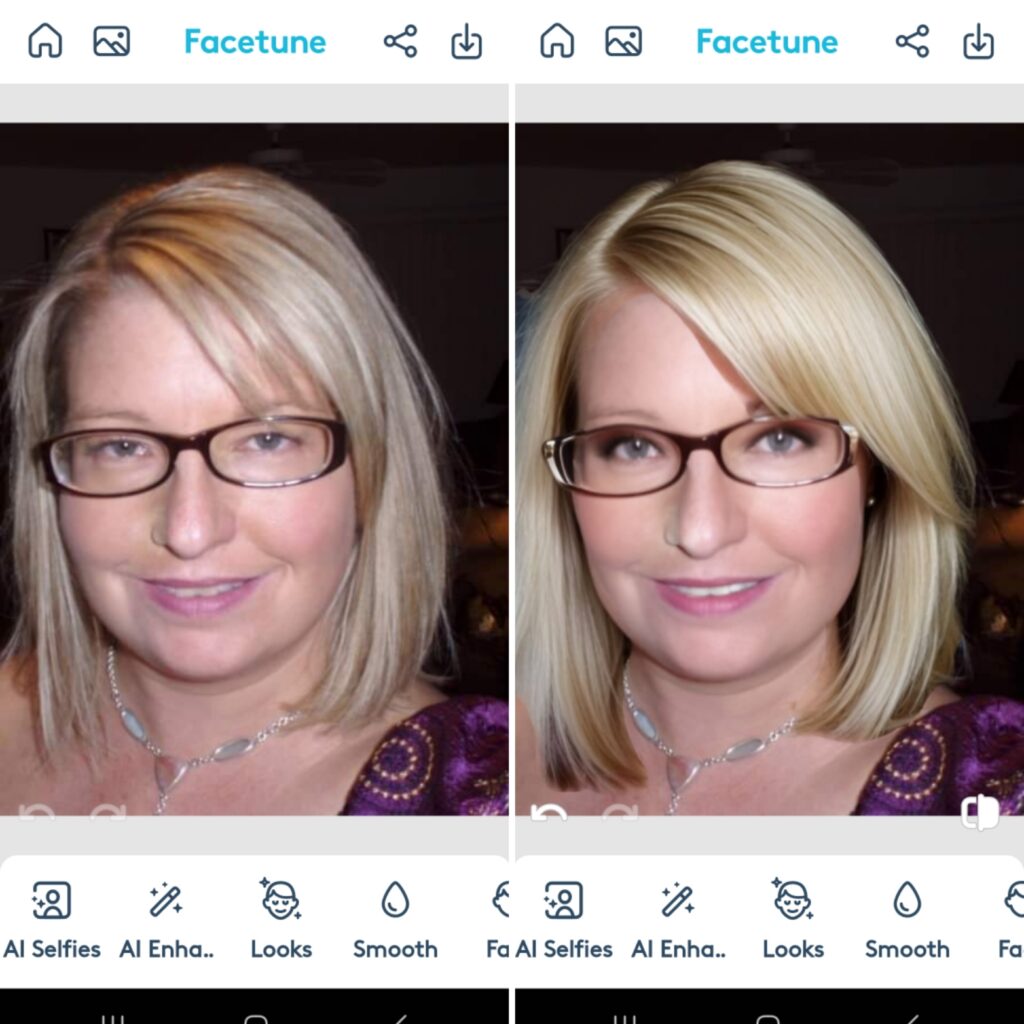
Body tuning, face tuning, and digital makeup are where I blur the line just a little bit between Photorealism and Photoartistry. I tell myself that portrait photographers do similar things with a soft scene, diffuse lighting, and having their subjects spend a lot of time preparing for the shoot. I’m not 100% sure how this justifies body tuning, but I’m willing to roll with it anyway.
In a Time Magazine interview, Blake Lively said – “It’s so important for young people not to compare themselves with what they see online. It’s our job as actors and/or models to be in shape. We have access to gyms and trainers and healthy food. And then on top of that, 99.9 percent of the time, the images are Photoshopped.”
With that in mind, here are a few of my favorite face and body-tuning apps:
- BeautyPlus: Digital makeup as you record
- Facetune: Specifically for faces, but can do bodies
- Body Editor: Specifically for bodies, but can do faces
Final Thoughts on Cell Phone Photo Editing
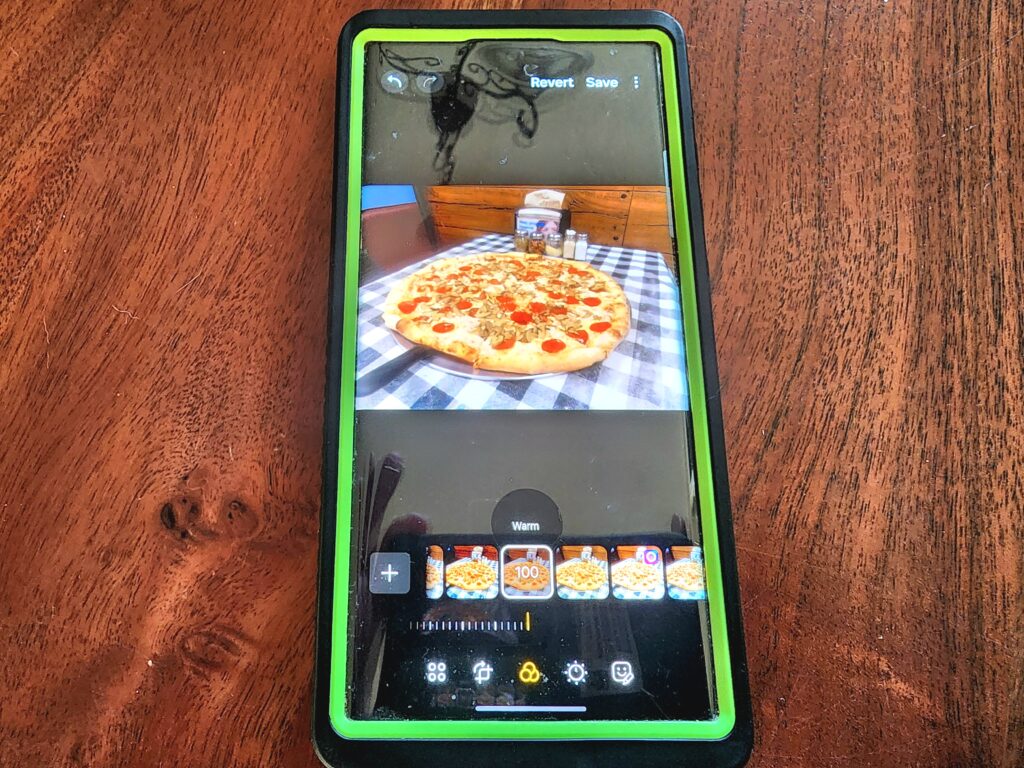
This piece was particularly hard to write because of the distinction between Photorealism and Photoartistry and the inconsistent terms used across photo editing platforms. We did our best, and it will help you with whatever editing software you use. This lesson is about ideas and concepts more than a “how-to.” You’ll have to play around with all the tools at your disposal and see which ones you like and which ones work best for you.
Read More From Coleman Concierge:
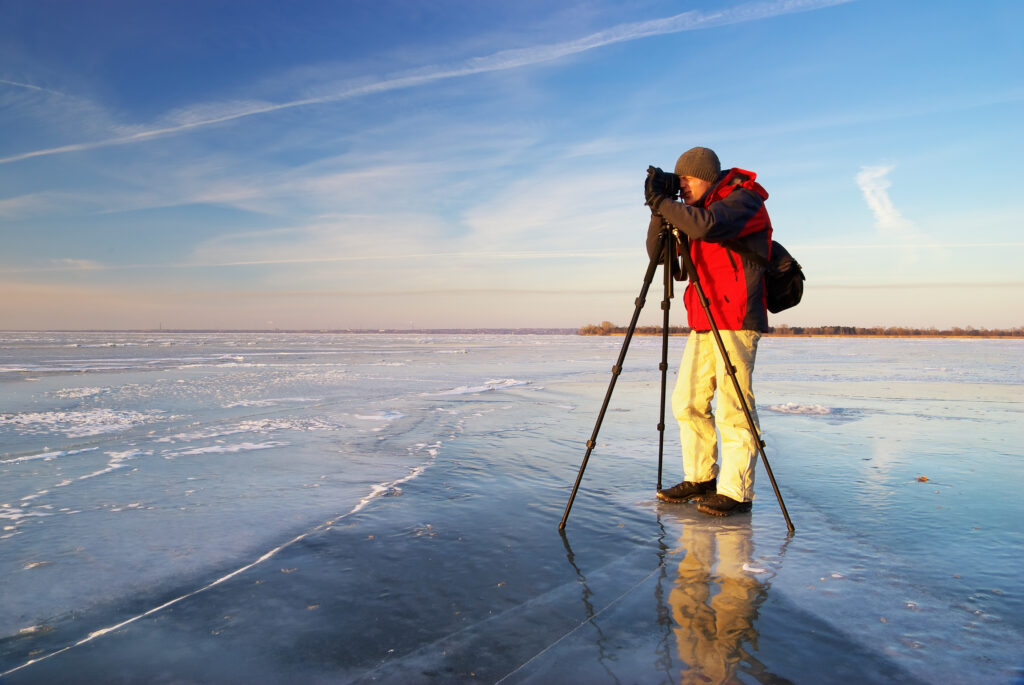
Master the art of photography with our comprehensive guide! Explore the 17 essential rules of composition that will transform your photos from ordinary to extraordinary. Whether you’re a beginner or a seasoned pro, these photo basics are a must-know for capturing stunning visuals. Dive in now and elevate your photography skills!
Photo Basics – 17 Rules of Composition to Live By
Up Your Cell Phone Photography Game Today!
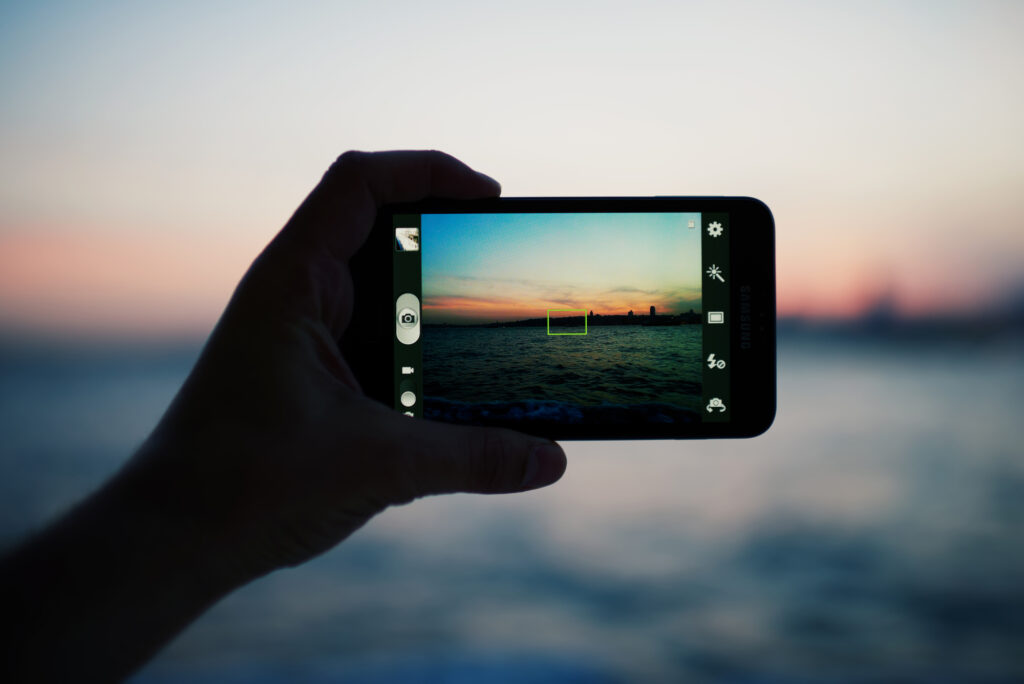
One of the factors that can really improve your cell phone photography is learning about your available settings. Cell phones can do remarkable things if you ask them to. They can also mess up a shot so much that you can’t ever fix it in post.
This article is for the cell phone photographer who wants to do more with less. We assume you understand the photo composition and working up to digital post-processing.
Up Your Cell Phone Photography Game Today!
Cloudland Canyon Hiking and Photography Guide – Know Before You Go

Cloudland Canyon is one of Georgia’s most rugged and beautiful state parks. Here is our complete guide to the parks hiking trails and capturing it on film.
Cloudland Canyon Hiking and Photography Guide – Know Before You Go
Travel Photography Tips You Can Use Today
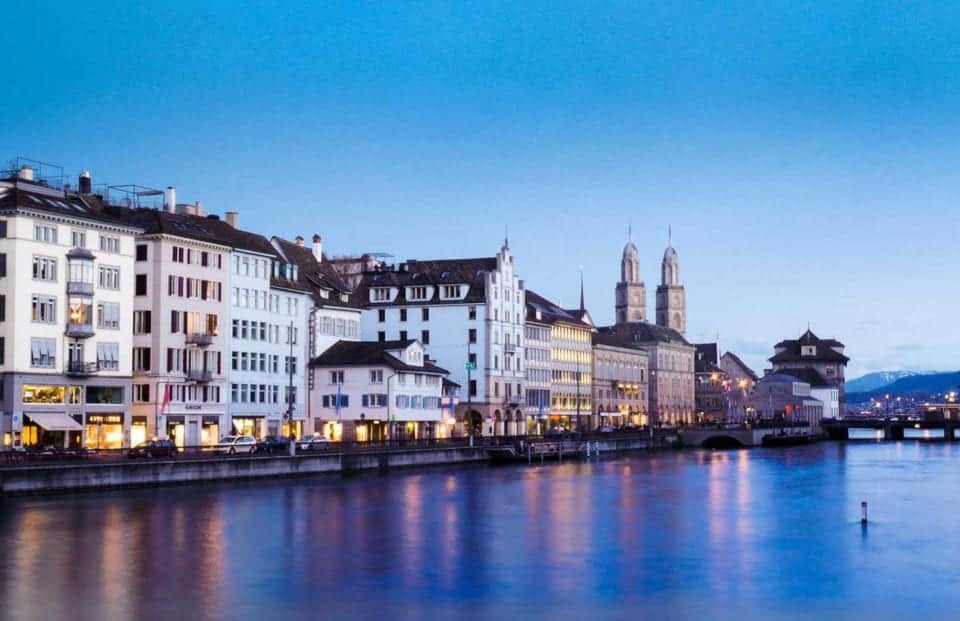
Photography is often seen as a bit of a dark art or too hard for the average traveler. In reality, some simple changes and ideas can radically improve your photos, often in minutes.
Travel Photography Tips You Can Use Today

